Hohenzollernmodell 1660-1670 Scale 1/75 POF build by Stephan Kertész (Steef66)

Thanks for the likes and visit to my build log.
I had a lot to do, even some re-do's on the planking. There is 1 row to go before I reach the spot where the wale will come. I stop a while planking on the outside and go further with the inside. First the zitters, then the wegering and after that I start to make the shape of the ship with a few frames and attaching the centen. But I'm think this will be somewhere about Christmas.

After the planking was done I need to look for mistakes and gaps on the outside. Hide them by placing tiny pieces of wood inside them or replace parts of the planking. I made some pictures of that proces and the end result.

View attachment 447710View attachment 447712View attachment 447713View attachment 447718View attachment 447720View attachment 447721View attachment 447723
and a few other places

View attachment 447714View attachment 447716

on side is done now the other side, but first a few pictures how it looks now.

View attachment 447725View attachment 447726View attachment 447728View attachment 447729View attachment 447730

Thanks for stepping by :)
Good morning Stephan. Wow, very authentic work. What Johan said.Thumbsup.Cheers Grant
 
Good morning Stephan. Wow, very authentic work. What Johan said.Thumbsup.Cheers Grant
Thanks Grant, a lot of work on each part, but so much fun to do.
Ps: I'd just finished looking The Expanse. Wow. that is indeed a must see for SF lovers. Sad that it ended on season 6, it could be go on much longer.

@all Thanks for the visit and the likes.

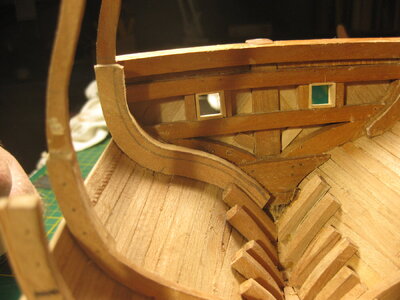
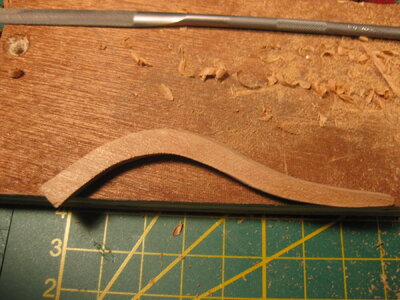
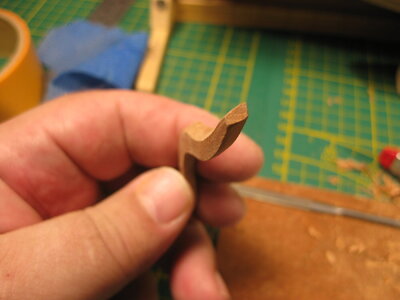
This time I'll show you how much work goes in one part. I was making a "zogstuk(ken)" Crotches. "Steeker"

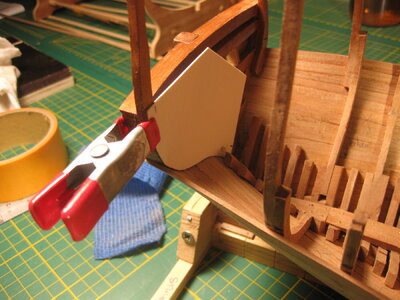
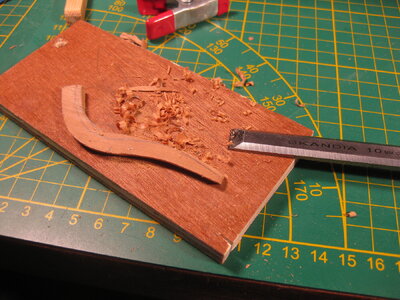
First I'm making a mould of paper and transfer that to a wood piece.
IMG_4478.JPGIMG_4479.JPG

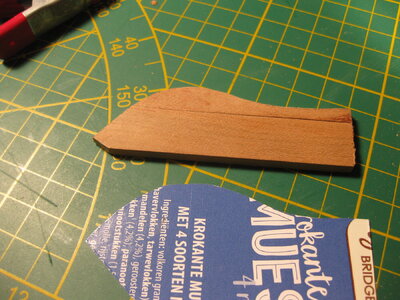
Then I fit it to the hull shape and then I mark roughly the lines where to saw.

IMG_4480.JPGIMG_4481.JPGIMG_4482.JPG

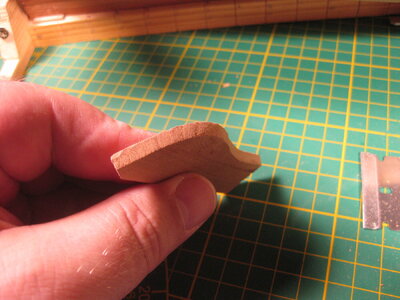
After that I start shaping the piece by hand to make it fit in place.

IMG_4483.JPGIMG_4484.JPG

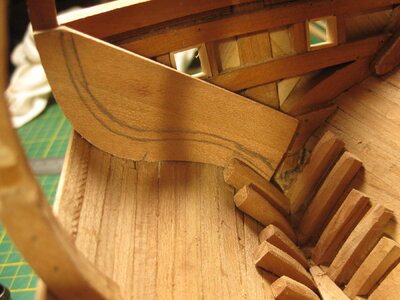
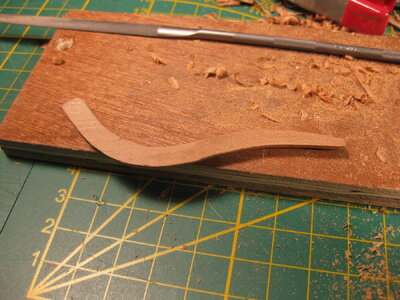
After that I fine tune the piece

IMG_4485.JPGIMG_4486.JPGIMG_4487.JPG

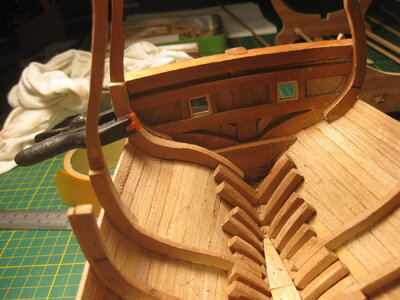
Before I glue it in place I make the other one for the opposite side. Then I glue them in place and can go on to the next one.
This piece took me 2,5 hour.

This totally different then making frames you often see in POF build. Where you shape them all at once. This job will take time and I will keep you up to date of the progress. Thanks for stepping by...
 
Last edited:
Thanks Grant, a lot of work on each part, but so much fun to do.
Ps: I'd just finished looking The Expanse. Wow. that is indeed a must see for SF lovers. Sad that it ended on season 6, it could be go on much longer.

@all Thanks for the visit and the likes.

This time I'll show you how much work goes in one part. I was making a "zogstuk(ken)" Crotches.

First I'm making a mould of paper and transfer that to a wood piece.
View attachment 447995View attachment 447996

Then I fit it to the hull shape and then I mark roughly the lines where to saw.

View attachment 447997View attachment 447998View attachment 447999

After that I start shaping the piece by hand to make it fit in place.

View attachment 448000View attachment 448001

After that I fine tune the piece

View attachment 448002View attachment 448003View attachment 448004

Before I glue it in place I make the other one for the opposite side. Then I glue them in place and can go on to the next one.
This piece took me 2,5 hour.

This totally different then making frames you often see in POF build. Where you shape them all at once. This job will take time and I will keep you up to date of the progress. Thanks for stepping by...
Nice to see the different steps, Stephan. Then you get an impression of how you arrive at a part. And of course the time it takes to visualize everything.
Regards, Peter
 
Nice tutorial! I enjoy your awesome work and detailed photos/explanations. They help us learn and improve our game immensely!
Your welcome Brad, I have learned a lot from the forum contributions of other modelers and I'm trying to give something back in my log. Your comments are proof that I am on the right track, thanks for that.
 
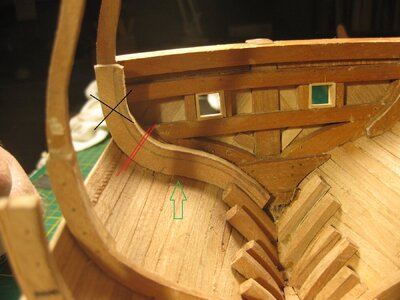
Little correction on the last post. I did tiny mistake about the position and the name of the part.
This part I made is called a Steeker in Dutch. English name Futtock or sitter at the bottom?? Correct me if I'm wrong.
It is also shorter then I made it. Thats no problem and easy to correct. sorry for the mistake I made.

IMG_4482a.jpg
 
Thanks, it is more clear to me how these ships where build. Only these Dutch names, there are so many and sometimes there are for the same part 2 or more different names. Better to learn the English names. More steady.
The Dutch names are different between Noorderkwartier en de Maze, same like their building methodes. :)
 
Thanks Herman. I learn quick.
And I start to love the program. Sometimes I do a redo because I discover a new function. Only fun.
There are a few YouTube movies where you can learn the basics in a very easy and quick way. They helped me a lot in the beginning. Maybe they help others here too


Etc.... 10 parts in total
Thanks once again Herman, most appreciated.
Regards
 
Back
Top